DIY Plinko: Build Your Own Board

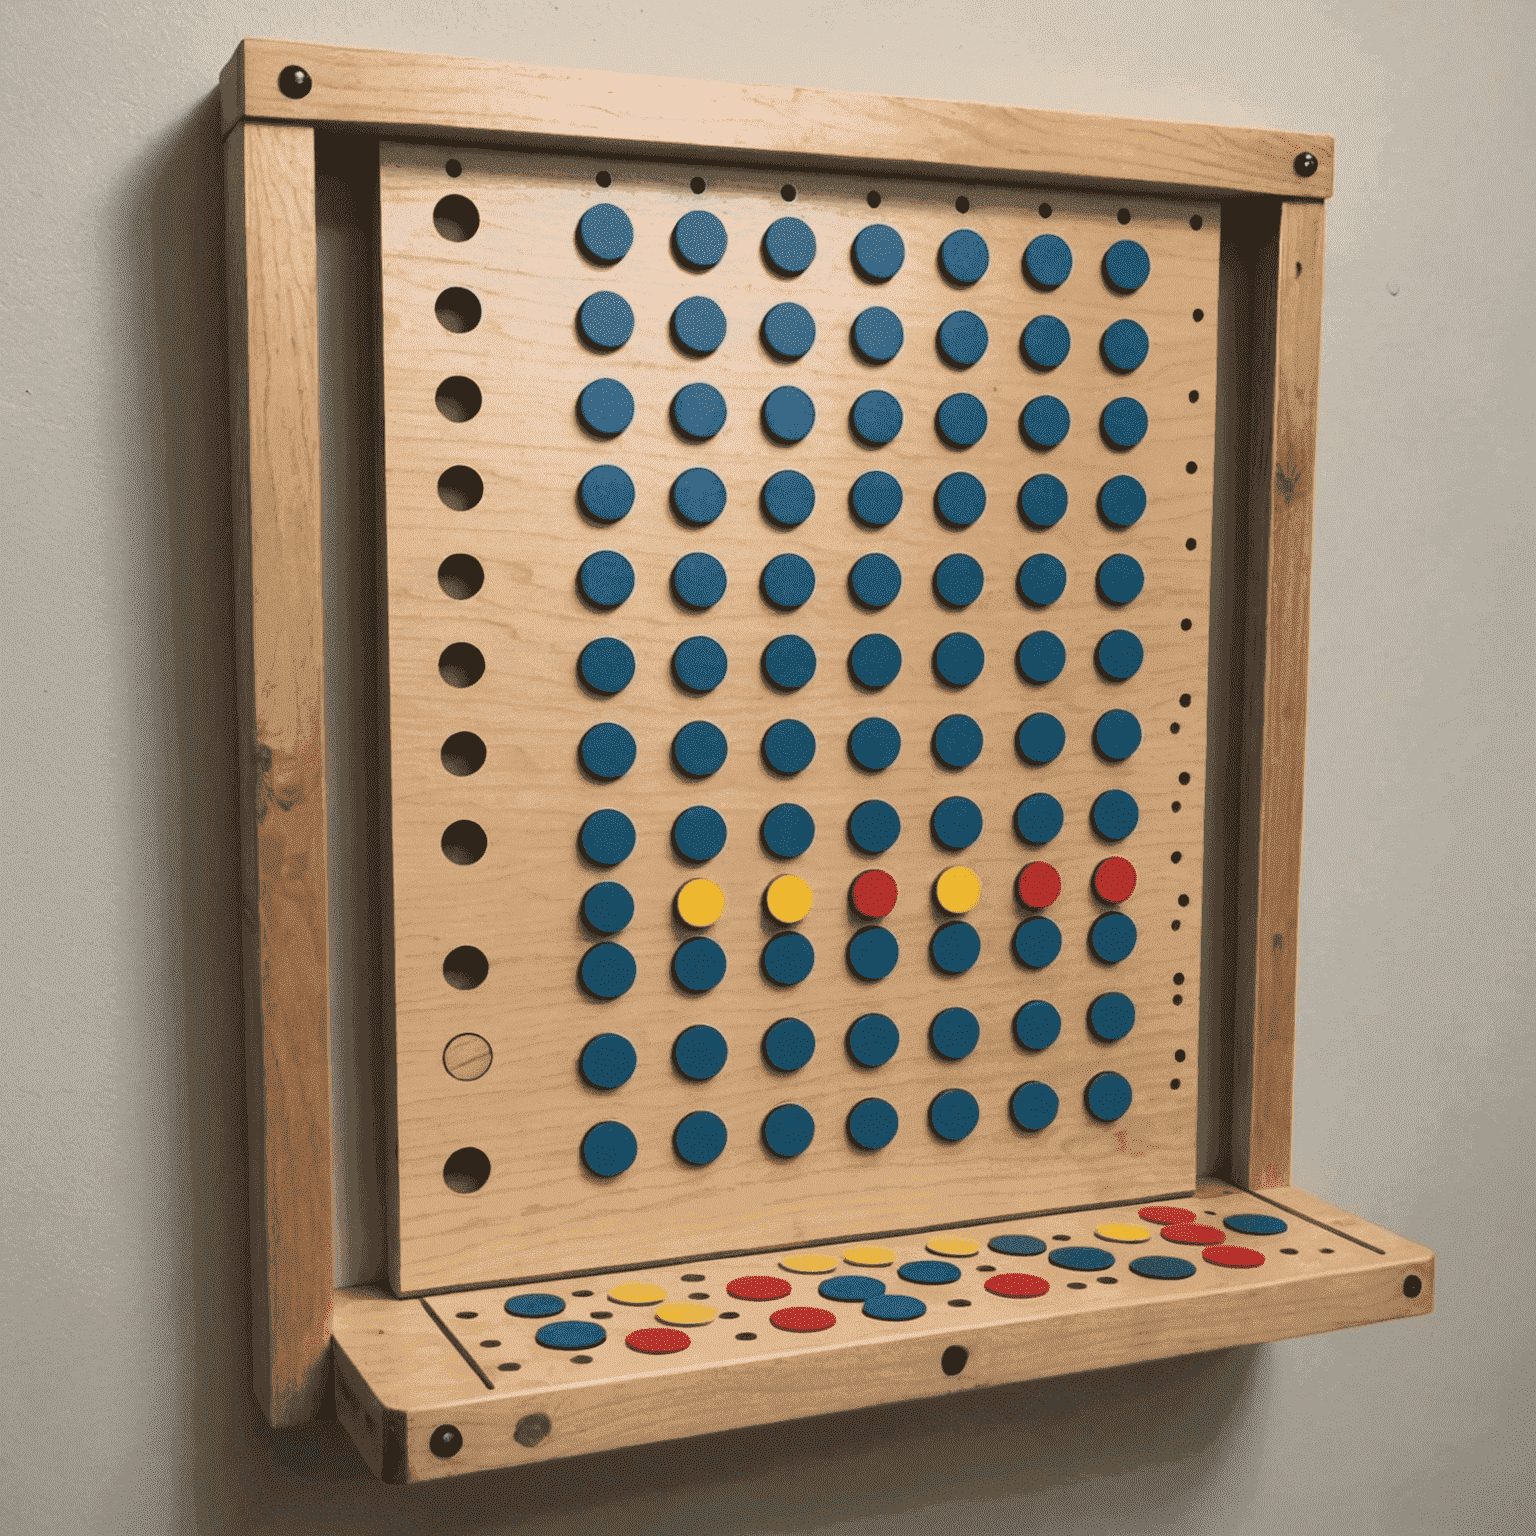
Create your own Plinko board for home entertainment or office team-building activities with these step-by-step instructions. Plinko, a popular board game featured on game shows, can now be a part of your personal game collection.
Materials Needed:
- Large wooden board (4' x 2' recommended)
- Wooden dowels (1/2" diameter)
- Wood glue
- Drill with 1/2" drill bit
- Sandpaper
- Paint or wood stain
- Plexiglass sheet (optional for front cover)
- Small wooden discs for game pieces
Step-by-Step Instructions:
1. Prepare the Board
Sand your wooden board to ensure a smooth surface. If desired, apply paint or wood stain for a finished look.
2. Mark Peg Positions
Using a pencil and ruler, mark out a triangular grid for your pegs. Start with wider spacing at the top and gradually decrease towards the bottom.
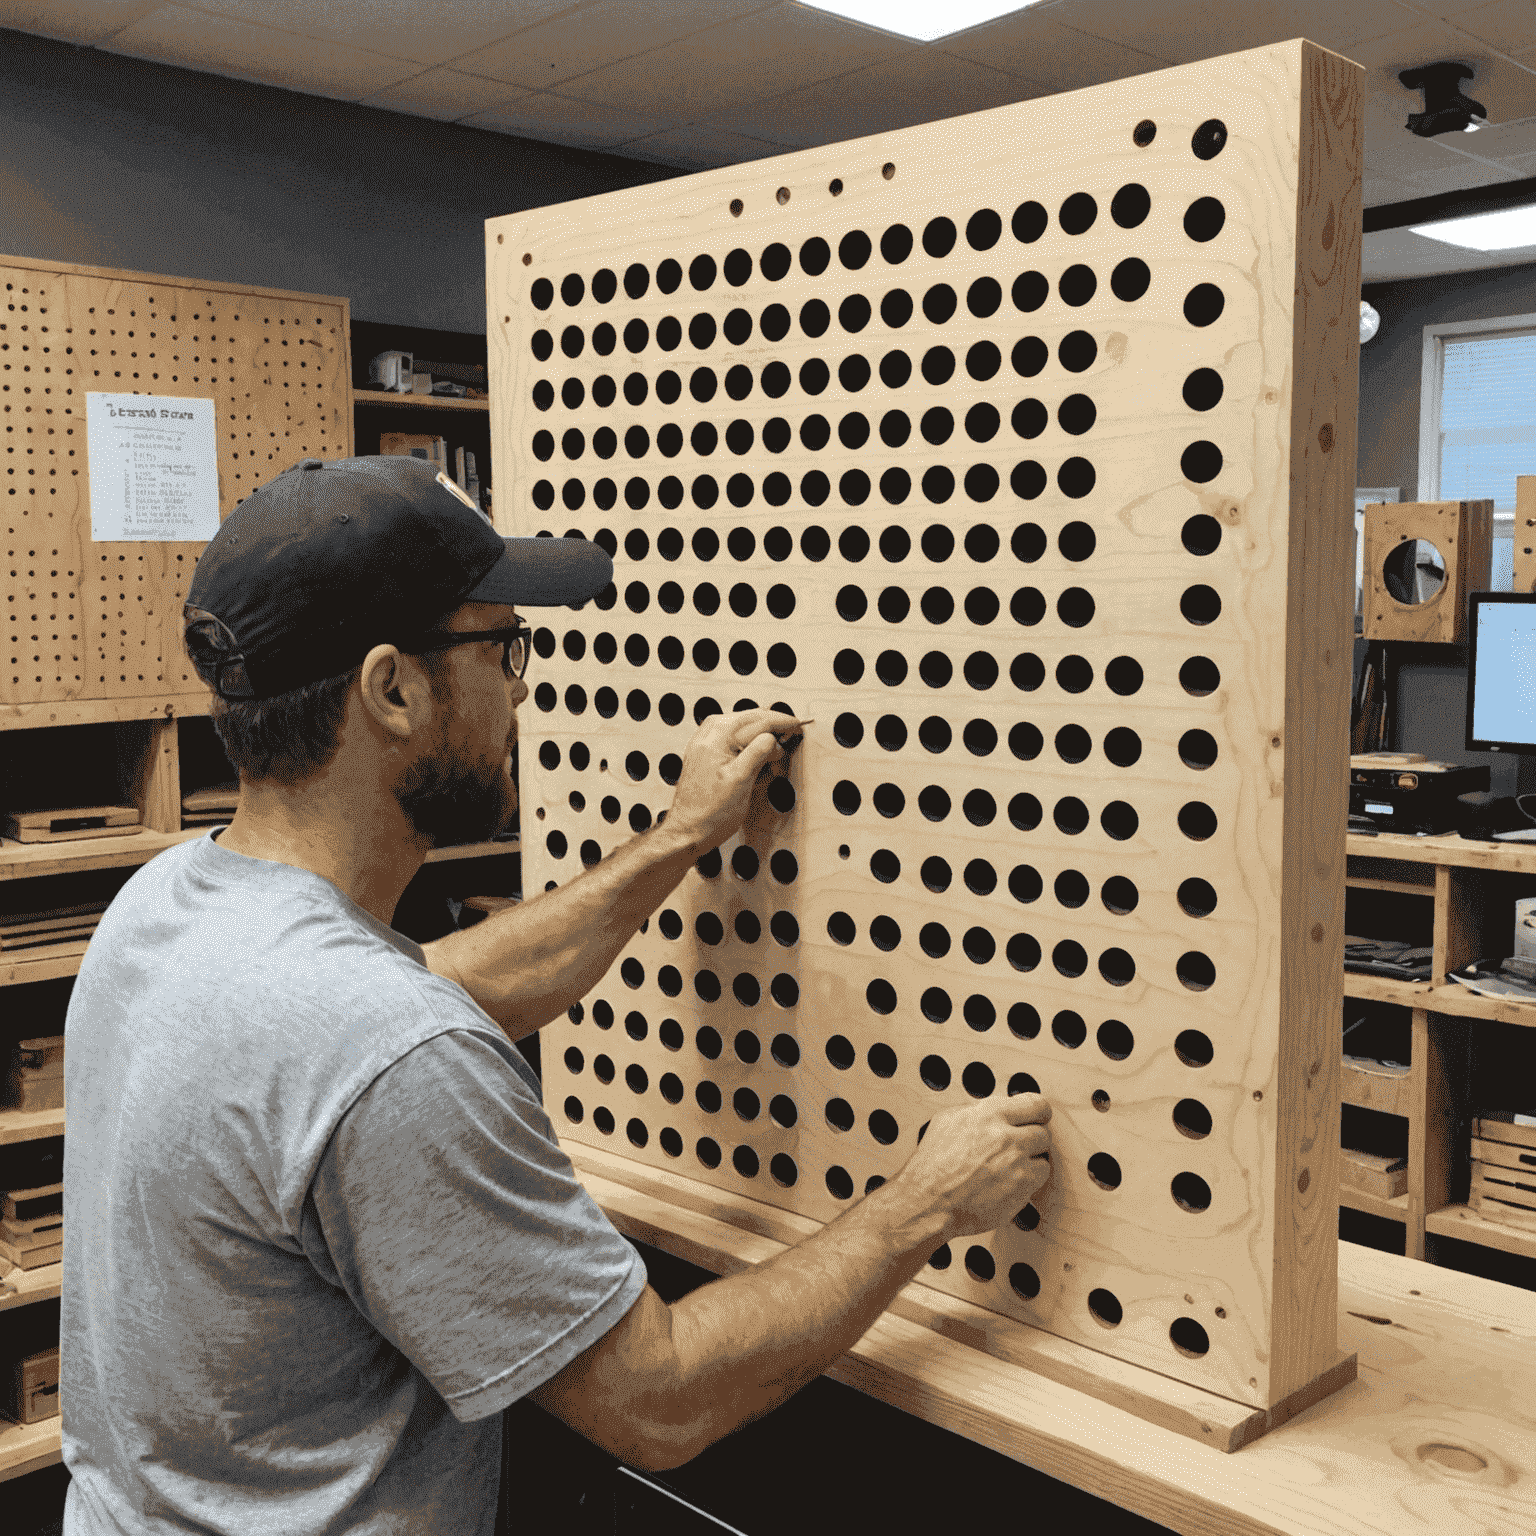
3. Drill Holes
Carefully drill holes at each marked position using your 1/2" drill bit.

4. Insert Pegs
Cut your wooden dowels into 2" lengths. Apply wood glue to each peg and insert them into the drilled holes.
5. Create Scoring Slots
At the bottom of the board, create scoring slots by attaching thin strips of wood to form compartments.
6. Add Drop Zones
At the top of the board, create drop zones by attaching small wooden dividers.
7. Optional: Attach Plexiglass
For a professional finish, consider attaching a plexiglass sheet to the front of your Plinko board.

8. Create Game Pieces
Sand small wooden discs to use as your Plinko chips.
Playing Your DIY Plinko Game
Now that your Plinko board is complete, it's time to play! Drop the wooden discs from the top and watch as they bounce their way down through the pegs, landing in one of the scoring slots at the bottom. The unpredictable nature of the disc's path is what makes Plinko such an exciting game.
Whether you're using it for family game nights or as an icebreaker at office events, your DIY Plinko board is sure to provide hours of entertainment. Enjoy the thrill of this classic game right in your own home or office!